Executive Summary: OEM Plush Pet Toy Prototyping
What this covers: This technical case study details the complete engineering workflow of transforming a flat 2D conceptual sketch into a mass-production-ready OEM plush cat toy.
The problem it solves: Many brand founders struggle with the transition from visual design to physical manufacturing. Un-engineered, flat designs often lead to structural failures, seam ruptures, and severe dimensional inconsistencies on the mass-production sewing line.
Key Insights & Methodology:
- The Blueprint: Standardizing the final deliverable into a comprehensive Tech Pack, ensuring zero ambiguity for die-cutting, material sourcing, and Quality Control (QC).
- Spatial Engineering: We bridge the gap between 2D art and 3D geometry using CAD software and precise pattern grading.
- Structural Durability: Implementing custom gusset construction and strict 1/4-inch seam allowances to withstand high mechanical stress from pets.
Project Brief
- Client Vision: A multi-part interactive catnip kicker toy designed to withstand aggressive hind-leg scratching, featuring integrated organic catnip pockets, crinkle paper layers, and heavy-duty bite-resistant seams.
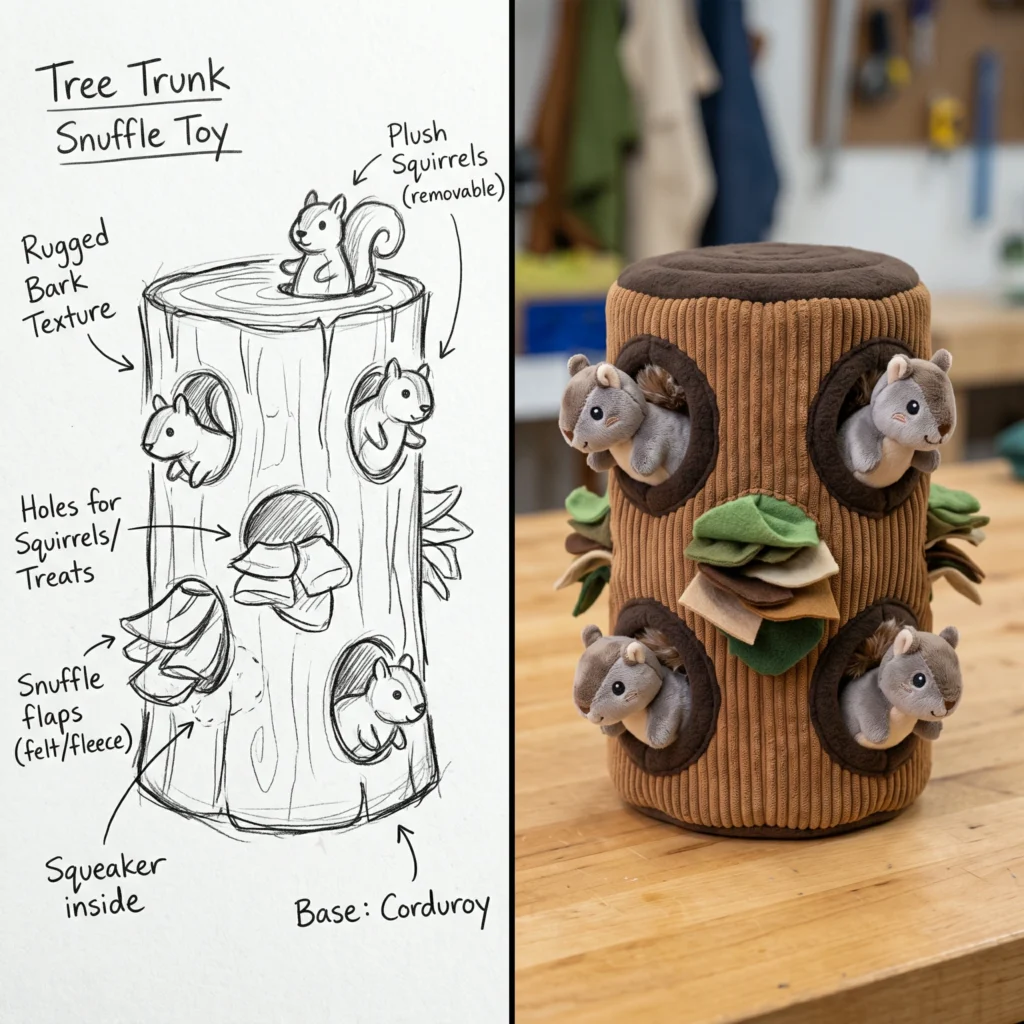
- The Starting Point: A rough hand-drawn sketch submitted via email, containing only front-facing 2D geometry, no specified dimensions, basic color blocking, and zero structural callouts.
- The Wehaopets Execution: 3D pattern grading, multi-layered gusset construction, structural support mapping for the catnip core, and precise seam allowance calibration for automated die-cutting.
- Time to Approved Prototype: 7 Days (from initial CAD to finalized physical color sample).
The Architectural Reality of Pet Toy Prototyping
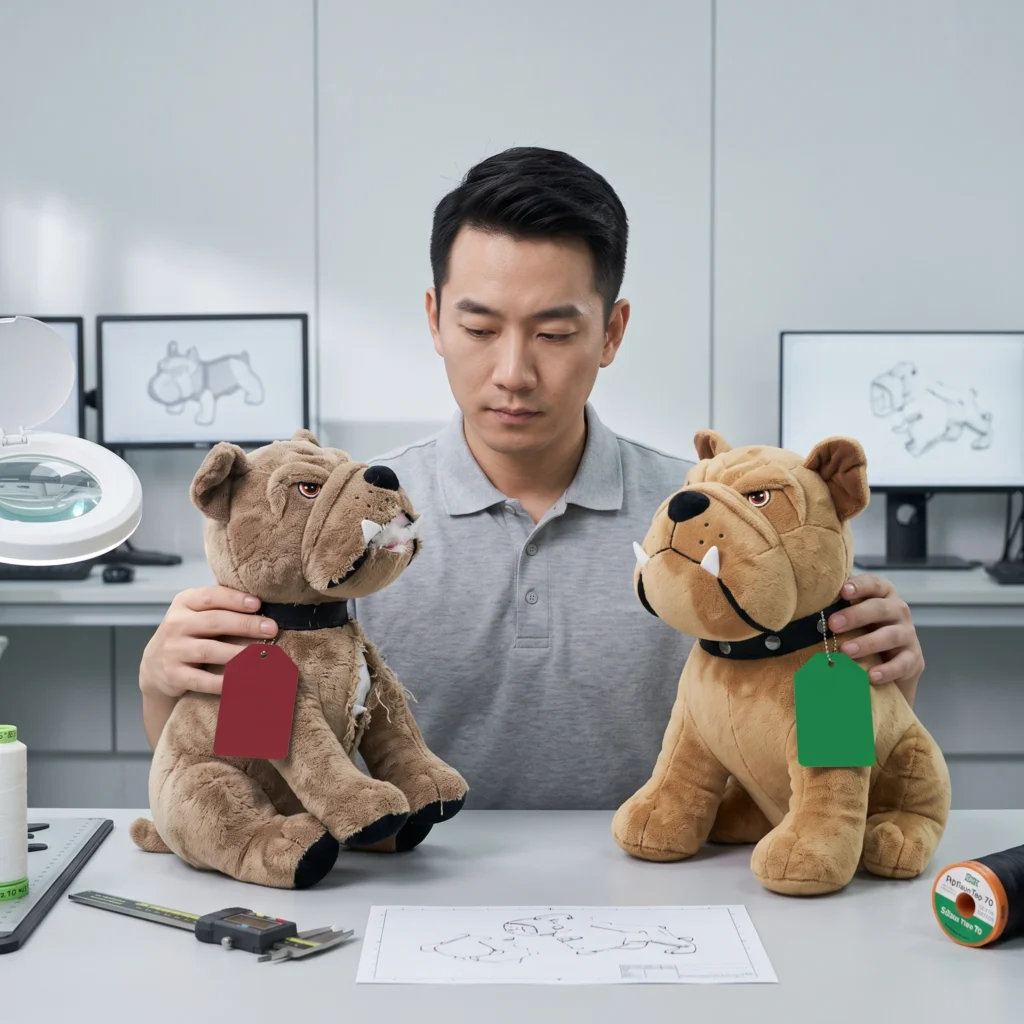
In our sample room at Wehaopets, we do not simply sew fabric together; we engineer structural soft goods. When brand founders approach a custom pet toy manufacturer, they often bring incredible creative vision. However, a 2D sketch is visually flat. It lacks volume, tension, and manufacturability. Our pattern making team’s core objective is to bridge the gap between aesthetic design and industrial engineering.
We operate under a strict, B2B-focused prototyping protocol. An OEM plush cat toy cannot merely look good on a retail shelf; it must endure intense mechanical stress. Cats do not play gently; they bite, claw, rip, and kick. Therefore, turning a sketch into a mass-production-ready prototype requires a meticulous breakdown of fabric bias, warp and weft tension, and interior stuffing distribution.
Phase 1: From 2D Concept to 3D Spatial Planning
When we receive a client’s concept sketch, our initial assessment focuses on topological feasibility. A drawing often depicts sharp angles and floating components that are physically impossible to replicate in plush without structural reinforcement.
Our first step is CAD modeling. Using industry-standard textile engineering software like CLO 3D, we simulate the drape and tension of the requested fabrics. In this specific catnip toy project, the client wanted a distinct, sharp curve for the “tail” section. In physical fabric, stuffing inherently wants to round out corners. To achieve the client’s sharp curve, our pattern making team had to engineer a specialized multi-part darting system.
We mathematically separate the single 2D drawing into dozens of individual interlocking panels. This process requires a deep understanding of negative space. We must calculate exactly how the fabric will deform once synthetic poly-fill and dried catnip are forced inside at high pressure.
Phase 2: Structural Integrity and Gusset Construction
A common failure point in amateur pet toy prototyping is the two-piece “pancake” construction (sewing a front panel directly to a back panel). When stuffed, this pulls the perimeter seam outward, exposing the thread to direct mechanical wear from a cat’s teeth and claws.
For a heavy-duty OEM plush cat toy, we implement comprehensive gusset construction. A gusset is an intermediary strip of fabric inserted between the front and back panels to provide depth and relieve seam tension. By adding a 35mm wide gusset around the perimeter of the kicker toy, we shifted the mechanical load away from the primary seams.
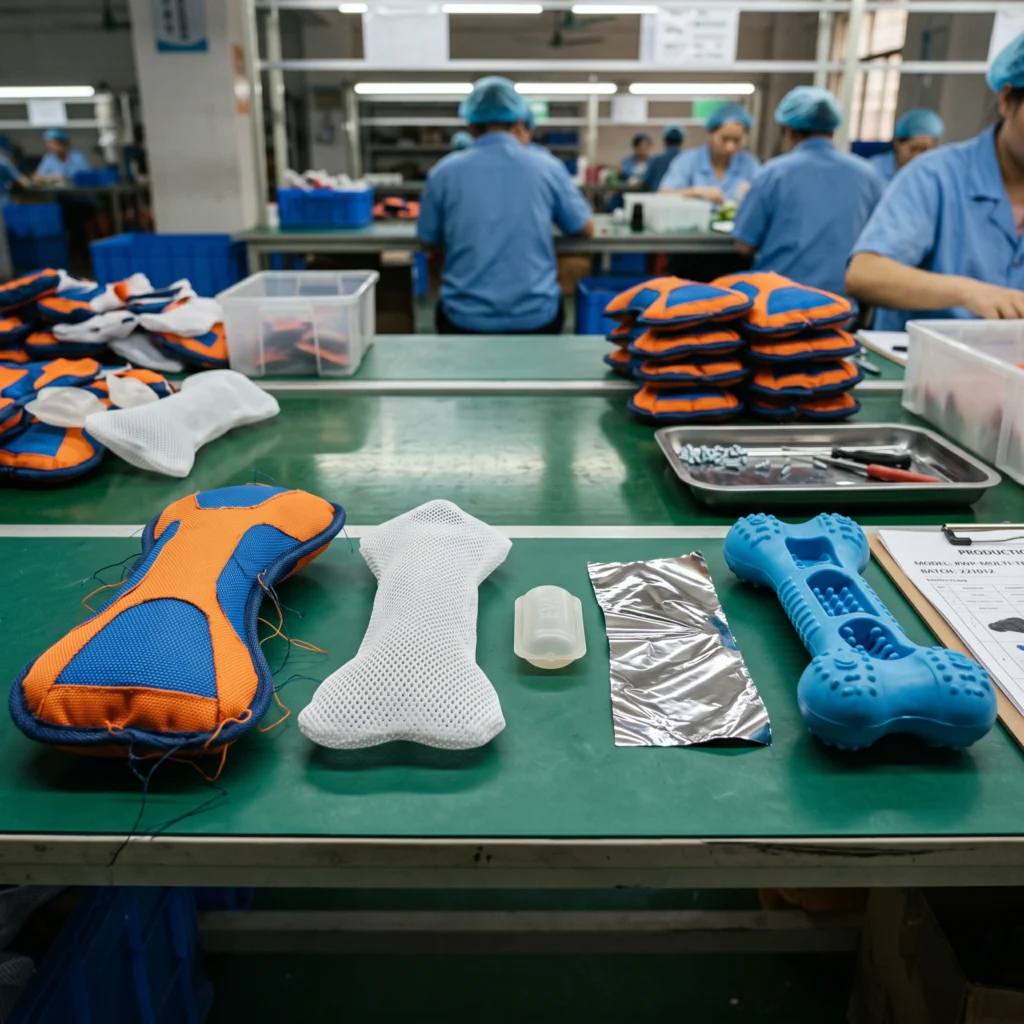
Furthermore, we must address the catnip core. Loose catnip poses a significant manufacturing challenge because it clumps, degrades, and can leak through microscopic gaps in the weave of cheaper fabrics. To solve this, we designed a localized inner containment pouch made of high-density non-woven spunbond fabric. This isolates the catnip, ensuring even stuffing distribution of the surrounding poly-fill while maximizing the olfactory permeation through the outer shell.
The R&D Timeline: Development Milestone Table
To maintain strict project management for our B2B partners, we operate on a standardized timeline. Below is the exact R&D schedule we utilized to bring this catnip toy from a rough sketch to a mass-production-ready state.
| Development Phase | Factory Action | Client Required Input | Estimated Days |
| 1. 2D to 3D CAD & Patterning | Digital drafting, geometry breakdown, calculating preliminary yield. | Submission of concept sketch, target retail price point. | 1 – 2 Days |
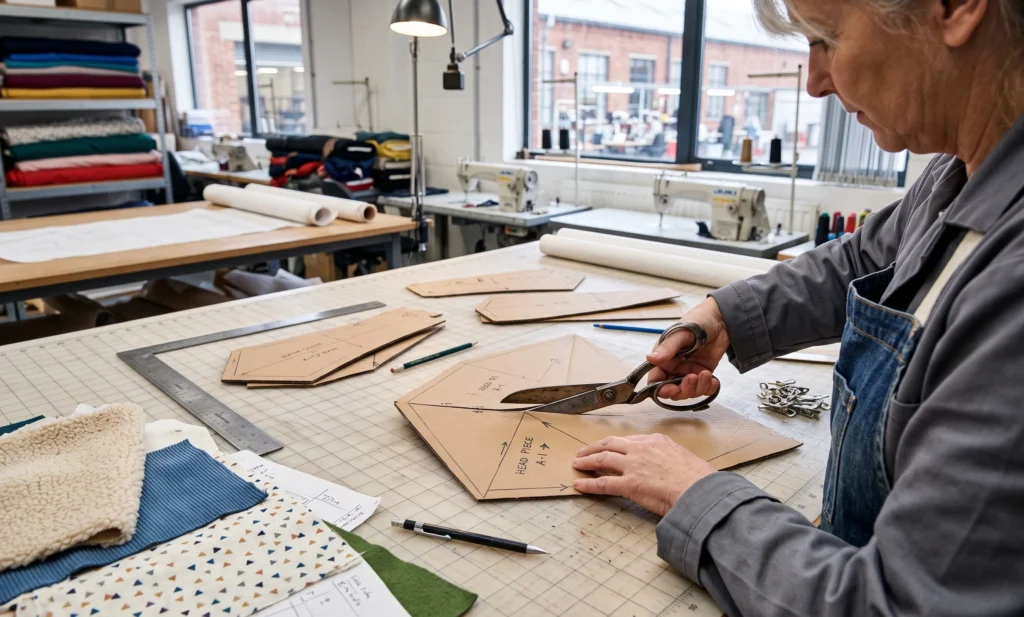
| 2. Paper Pattern Cutting | Laser-cutting cardboard/paper molds to test spatial relations and seam logic. | None (Internal Factory Process). | 1 Day |
| 3. White-Sample Prototyping | Sewing an un-dyed, base-material prototype to test volume and stuffing distribution. | Review of structural shape, approval of physical dimensions. | 2 Days |
| 4. Material Sourcing & Die-Cutting | Sourcing specific PMS fabrics, creating custom steel-rule dies for precise cutting. | Approval of fabric swatches and texture profiles. | 1 – 2 Days |
| 5. Final Color Sample & QA | Assembling the final prototype with accurate embroidery, hardware, and tags. | Final sign-off on the physical sample and Tech Pack. | 1 – 2 Days |
Phase 3: Calibrating the Seam Allowance and Die-Cutting
Once the “white-sample” (the structural un-dyed prototype) is approved by the client, we move into micro-calibrations for mass production. This is where the engineering becomes hyper-technical.
In our factory, we standardly enforce a strict seam allowance (1/4 inch or roughly 6.5mm) on all high-stress pet toys. The seam allowance is the distance between the edge of the fabric and the structural stitch line. If the allowance is too small, the fabric will fray and rupture under stress. If it is too large, the interior seams will bulk up, distorting the exterior shape of the toy.
Our pattern graders take the finalized 3D CAD files and flatten them into 2D cutting maps. These maps are used to forge custom steel-rule cutting dies. Die-cutting is mandatory for OEM mass production; hand-cutting is entirely unacceptable in our facility due to high variance. A steel-rule die operates like a heavy-duty cookie cutter on an industrial hydraulic press, stamping through 30 to 50 layers of fabric simultaneously.
Because we utilized a thick, high-pile fabric similar to the materials found in our wholesale interactive cat toys, we had to calculate “pile creep” into our die-cutting tolerances. High-pile fabrics tend to shift under the pressure of the hydraulic press. Our engineers adjusted the perimeter vector lines by +1.5mm to account for this compression shift, ensuring every single die-cut panel matched the original CAD specifications perfectly.
Phase 4: Pattern Grading and Yield Optimization
When a client wants to launch multiple sizes of the same toy (e.g., a 4-inch standard mouse and an 8-inch kicker size), we utilize pattern grading.
Pattern grading is not a simple matter of clicking “scale up 200%” in a computer program. If you scale a pattern linearly, the volume increases cubed, meaning a toy that is twice as long will require eight times the stuffing distribution, fundamentally altering the fabric tension and the size of the necessary seam allowances.
Our pattern makers individually recalculate the curves, gusset widths, and darting depths for each size SKU. We also conduct “nesting” exercises. Nesting is the algorithmic arrangement of these 2D patterns onto a digital representation of a 1.5-meter-wide fabric roll. By interlocking the patterns tightly like a jigsaw puzzle, we minimize fabric waste. For our B2B clients, a 5% improvement in fabric yield through intelligent nesting can translate to thousands of dollars in saved material costs during a large OEM production run.
The Final Deliverable: The Tech Pack
The culmination of this entire engineering process is not just the physical prototype; it is the Tech Pack (Technical Package). The Tech Pack is the manufacturing blueprint. It removes all ambiguity, guesswork, and subjective interpretation from the mass production line.
If a worker on our sewing floor, who has never seen the client’s original sketch, reads the Tech Pack, they must be able to reproduce the toy flawlessly.
Mandatory Tech Pack Checklist
Before we allow any OEM plush cat toy to proceed to the mass production line, the client must review and sign off on our finalized Tech Pack. Here are the three non-negotiable elements we require:
- 📐 Exact Dimensions in mm: Every single panel, gusset, and embroidered feature must have precise metric measurements. “Make it medium-sized” is unacceptable. The blueprint must read “Overall length: 185mm, Gusset width: 35mm, Eye embroidery radius: 12mm.”
- 📝 Seam Allowances & Stitching Specs: The document must explicitly state the required seam allowance (1/4 inch), the stitches per inch (SPI – we mandate 8-10 SPI for high-durability toys), and the thread specification (e.g., 210D bonded nylon thread).
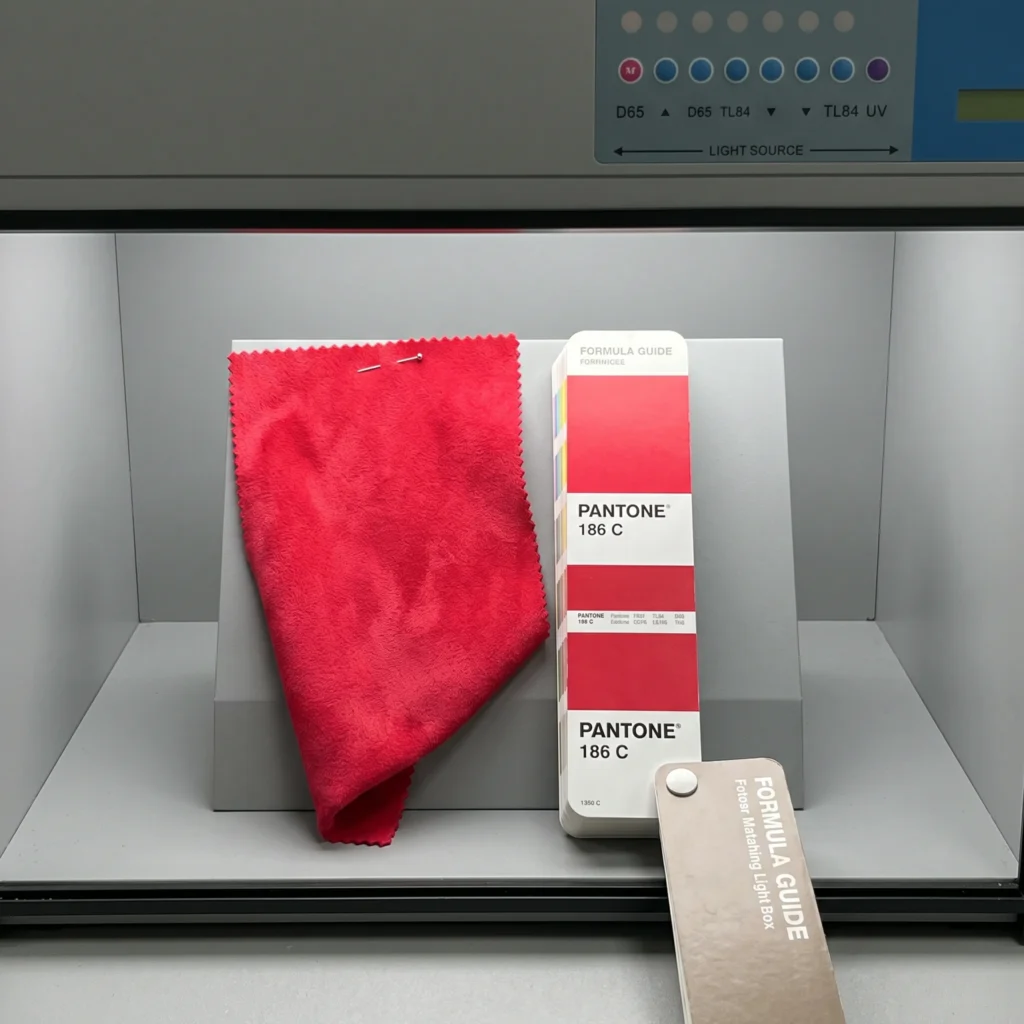
- 📐 PMS Color Codes & Material Swatches: Subjective color names like “Ocean Blue” are banned from our manufacturing floors. Every fabric, thread, and label must correspond to an exact Pantone Matching System (PMS) code. Physical swatches of the approved base material and stuffing weight (e.g., 45 grams of 3D hollow PP cotton + 10 grams of crushed organic catnip) must be stapled directly to the master document.
Quality Control Integration at the Prototype Stage
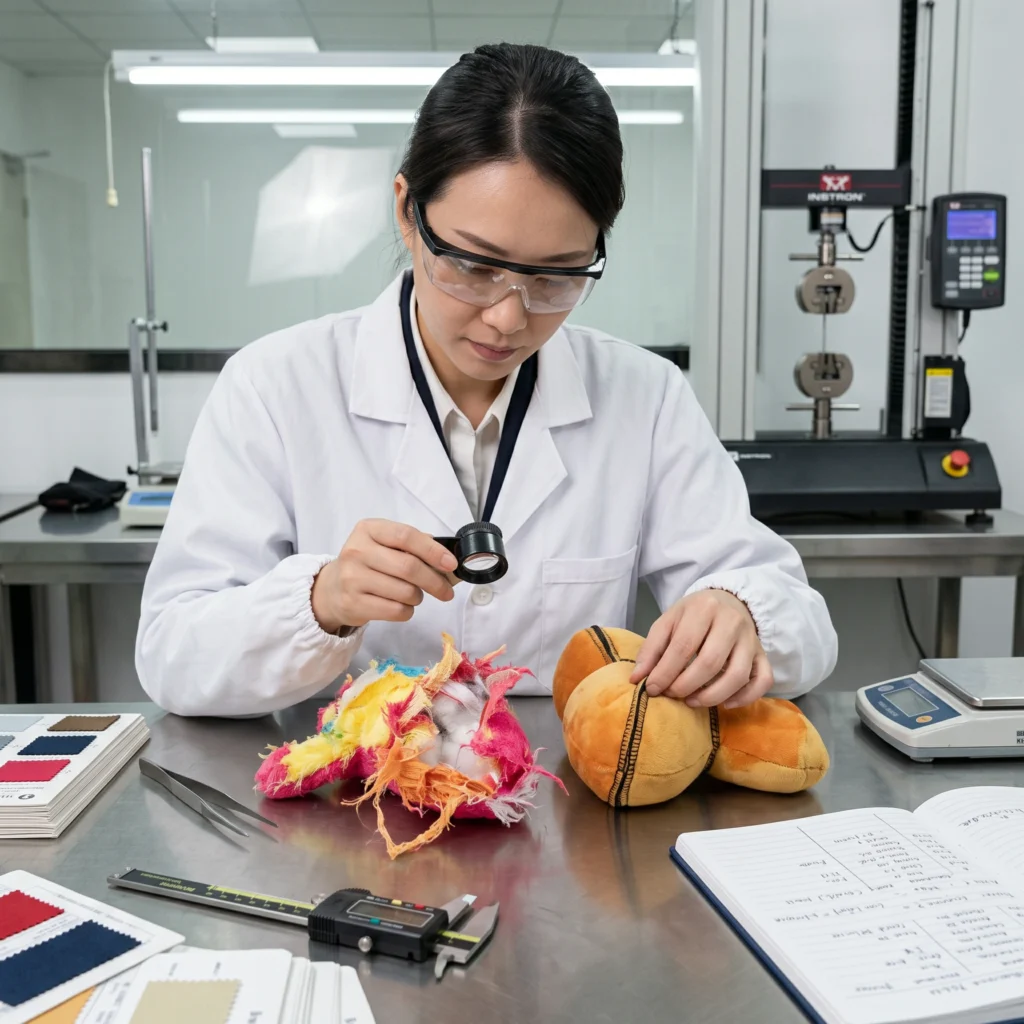
Prototyping is not just about aesthetics; it is about establishing the baseline for Quality Control (QC). During the final stage of prototype development, we subject the physical sample to destructive testing.
We utilize standardized pull-tension meters to test the strength of attached components. For instance, if the cat toy features attached felt ears or nylon ribbon tails, we will clamp the body of the toy and pull the appendage to simulate aggressive play. We document the exact force (in Newtons) required to tear the seam. This data is then recorded in the Tech Pack.
When mass production begins, our inline QC inspectors will pull random units from the sewing line and subject them to the exact same tension tests. If a mass-produced unit fails at a lower threshold than the approved prototype, the entire batch is halted. This is why the precision of the initial pattern making, the seam allowance calibration, and the Tech Pack documentation are critical. The prototype sets the undeniable, mathematical standard for the entire production run.
Why Brand Founders Must Understand This Process
For product designers and brand founders, understanding this architectural approach to soft goods is vital for protecting your margins and your brand reputation. A poorly engineered pattern might look acceptable as a single handmade sample, but it will cause disastrous bottlenecking, high defect rates, and inconsistent sizing once it hits the sewing line.
By partnering with a factory that treats pattern making as a strict engineering discipline, you eliminate the friction between design and reality. Our job is to take your vision and build a highly calibrated, manufacturable blueprint that guarantees consistency across tens of thousands of units.
Start Your OEM Project Today
Do not let manufacturing complexities stall your product launch. Whether you have a fully finalized 3D rendering or just a rough sketch on a napkin, our pattern making team is ready to analyze your concept. We operate under strict NDAs to protect your intellectual property.
Send us your designs for a comprehensive, free manufacturability assessment. We will evaluate your concept for structural feasibility, suggest yield optimizations, and provide a clear roadmap for prototyping.
Contact Us to Start Your Prototyping Journey
Frequently Asked Questions (FAQ)
1. Does Wehaopets charge a fee for pet toy prototyping?
Yes, we charge a standard prototyping fee that covers the cost of CAD drafting, pattern grading, custom die-cutting for samples, and labor for our senior sample makers. However, this prototype fee is fully refundable and credited back to your invoice once you place a bulk OEM mass production order that meets our Minimum Order Quantity (MOQ).
2. How many sample revisions are included in the prototyping phase?
Our standard prototyping package includes the initial “white-sample” (structural prototype) and one physical color sample with your specified materials. If adjustments to dimensions or structural geometry are required after the white-sample, we accommodate one major revision before proceeding to the final color sample. Further fundamental redesigns may incur additional pattern making fees.
3. If I provide the design, who owns the Intellectual Property (IP) of the Tech Pack?
You do. We operate under strict Non-Disclosure Agreements (NDAs). When you commission Wehaopets to develop a prototype based on your proprietary concept, the resulting Tech Pack, digital CAD patterns, and physical molds remain your exclusive intellectual property. We act solely as your contracted manufacturing partner.
4. Can you prototype a toy to meet specific ASTM or CPSIA safety standards?
Absolutely. If your target market requires specific safety certifications (such as heavy-metal free dyes, AZO-free fabrics, or specific tension thresholds for attached parts), you must state this in the Project Brief. Our pattern team will engineer the seam allowances and source compliant materials specifically to pass these third-party laboratory tests.
5. How long does the transition from an approved prototype to mass production take?
Once you physically sign off on the Tech Pack and the final color sample, mass production setup begins. Creating the industrial steel-rule dies, bulk ordering the PMS-matched raw materials, and scheduling the sewing lines typically takes 25 to 35 days, depending on fabric availability and the complexity of the plush toy pattern.